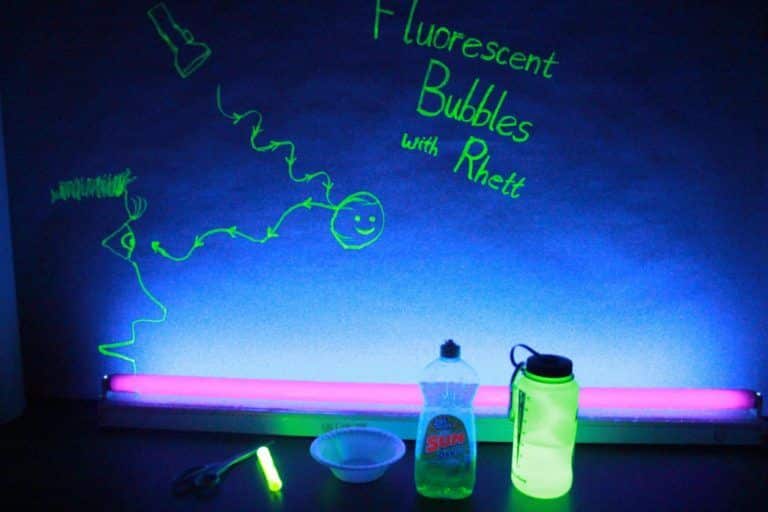
Can’t get enough of bubbles? Here at AstroCamp we love playing with them too! This is a great DIY that you should definitely try at home. All you will need to make fluorescent bubbles is a blacklight, bowl, dish soap, ink from a highlighter, a little water, and a bubble wand. Then let the fun begin!
What is Fluorescence?
Fluorescence is the property of absorbing light of a short wavelength and high energy, and then emitting it at a longer wavelength and lower energy. This is a type of luminescence which is the emission of light due to a chemical reaction, electrical stimulation, or stress on crystals.
If you’ve ever seen objects under a blacklight – like clothes or highlighters – you may have noticed that some things glow when they’re hit by that kind of light, and others don’t. The things that are glowing are fluorescing! Fluorescence in this case is caused by an interaction between high energy UV light (from the blacklight) and some of the electrons in that object. When that high energy light strikes the object, those electrons are able to absorb the energy from the light for a short period of time. However, the electrons soon let go of that energy, emitting it as a slightly lower energy light. The light that they release is the glowing that we see!
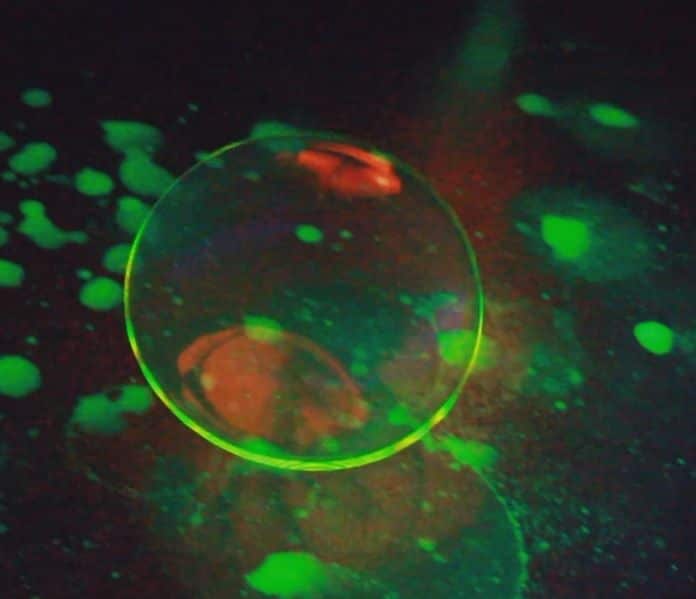
At Astrocamp, we wanted to see if we could make fluorescent soap-bubbles. For the case of the fluorescent bubbles, the violet and ultraviolet light interacts with highlighter fluid. Don’t worry, it is a low energy ultraviolet that will not harm you. Ultraviolet light is too high of an energy for humans to see. The highlighter fluid absorbs that high energy light, and then emits its own lower energy, visible light, which we can see as the impressive glow! Try it out with different colors to experiment which colors of highlighter fluid works best.
We’ll show what we did, step by step, so that you might be able to recreate this experiment yourself!
Making the Fluorescent bubble mixture:
Materials:
- Bubble Solution- we made our own with dish soap and water. If starting with bubble solution, skip steps 1 & 3!
- Fluorescent Highlighters- yellow tends to work best!
- Bubble Wand
- Blacklight
- A knife or scissors
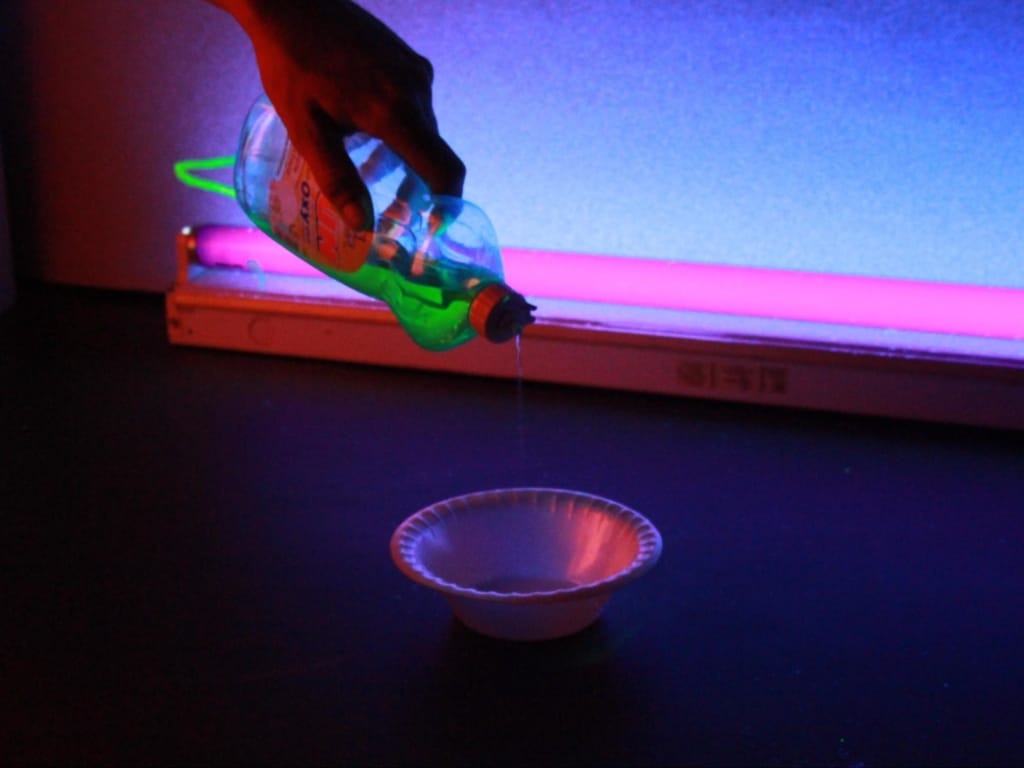
First, add a bit of dish-soap so a container. We used a small styrofoam bowl, but you can use whatever you like.. A tablespoon of soap should be enough, but you may need more depending on the amount of water you add later.
Second, carefully cut the back-end off of a highlighter and remove the inkpad. You will need an adult for this part! Then do your best to squeeze as much highlighter-ink as you can into the bowl. In our experiment, we used a yellow highlighter. To cut our highlighter, we used a pair of scissors. For brighter bubbles, add more ink to your mixture by removing the inkpad from more highlighters! You will probably get a bunch of ink on your hands. Don’t worry! It is non-toxic, and will make you look very cool with the blacklight!

Finish up your bubble mixture by adding water. Your bubble mixture should appear still appear “soapy” after adding water. If you think you added too much water, add more soap!
Lastly, to make the mixture fluoresce, you’ll need a black light and a dark room. To make the bubbles, you’ll need a bubble wand. If your bubbles aren’t working well, add more soap or water. If they aren’t very bright, you can add more highlighter.
When you’re blowing your bubbles and seeing them glow under the blacklight, you’re seeing fluorescence! The electrons from the atoms in the highlighter-ink are absorbing the high-energy, invisible UV light from the blacklight and emitting it as a slightly lower energy light that we can see – as a bright glowing.
Where Else is Ultraviolet Found?
Did you know that the sun is the main source of ultraviolet light? There are actually some animals on Earth, like reindeer and butterflies, that can see in the ultraviolet spectrum, and some flowers that have patterns in their petals that can only be seen in the the ultraviolet. So the next time you are outside on a bright sunshiny day, get your fluorescent bubble solution out and try to see the world through a new filter.
About AstroCamp
AstroCamp is a science and adventure summer camp for kids between 8-17 with one or two-week sessions, or for a week-long “Geek Week” session. Here, your child can explore electricity in our Magnetism Lab, visit the Telescopes Viewing Center for a peek at the night sky, build their own robots, and make fluorescent bubbles, of course!. They’ll do all of this and more in a classic camp environment with additional cool outdoor activities. If this sounds fun, don’t hesitate to reach out today.